In this guide, I will share my 10 best bag making tools to have as a beginner to bag making. Don’t get me wrong, you can still make bags without these tools but I strongly believe they are useful to have and they will make your life a lot easier. I listed the tools from 1 to 5 for beginners and 6 to 10 for more advanced intermediate bag makers.
Please note this post contains Amazon affiliate links, meaning I earn a small commission should you purchase anything through my link at no additional costs to you.
If you are really into sewing and are looking to go from So-So to Sew Spectacular then you should join The 7t7 Club. The classes and inspiration will keep your sew-jo and there’s a community of like-minded people all supporting each other and helping, and they are all sewing the same thing! See you there!
Beginner bag making tools
1. Lighter
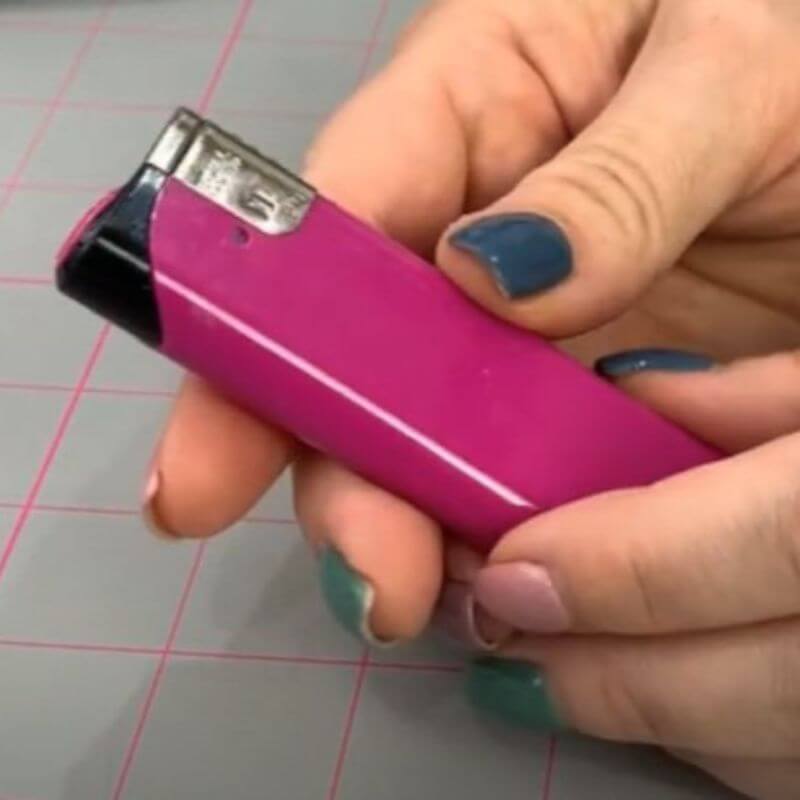
If you’re new to making bags you may kind of wonder why you need a lighter. It’s just a handy old lighter and super cheap but useful for burning the ends of zippers and keeping them nice and secure. You can burn the ends of polyester thread as well to keep them nice, you know once you’ve done that little knot you can kind of Burn the ends and squish it down and keep that secure stop from unravelling.
2. Frixion pen
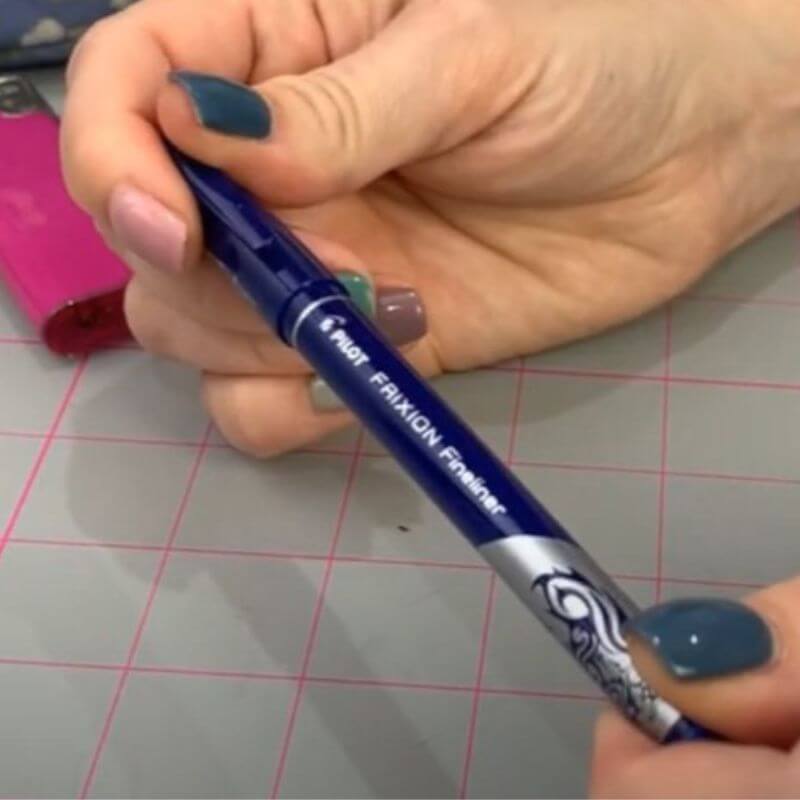
Frixion pens are just completely invaluable when it comes to bag making, when I first found out about these it was when I was in the film industry. We used them on foam, we used a lot of foam in big characters, and we used them for tracing things out because then you can put a hairdryer over it. After all, it’s heat-erasable and it will disappear. So that’s a little tip for you as well, If there’s something that you can’t put an iron on, you can use the hairdryer.
3. Double-sided sewing tape
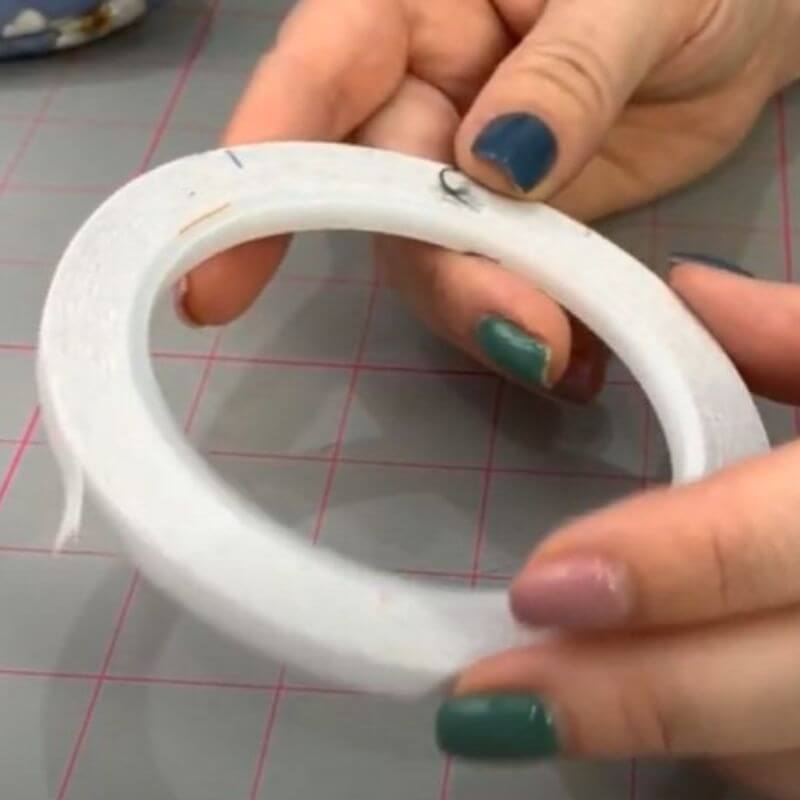
I love this bag-making tool, an absolute game changer and I hope this stops you being scared of zips. So you must use a sewing tap and not regular double-sided tape, otherwise, it’s going to gum up your needle then your machine is gonna hate you. There are different brands on the market eg Wonder Tape but some easily wash away. I got mine from Amazon. This one came in with about 9 rolls here in the UK for around 10 GBP. I love this bag-making tool, it doesn’t really matter that it stays in there, you don’t have to pull it out afterward. It will make your world so much easier, trust me.
4. Hump jumper
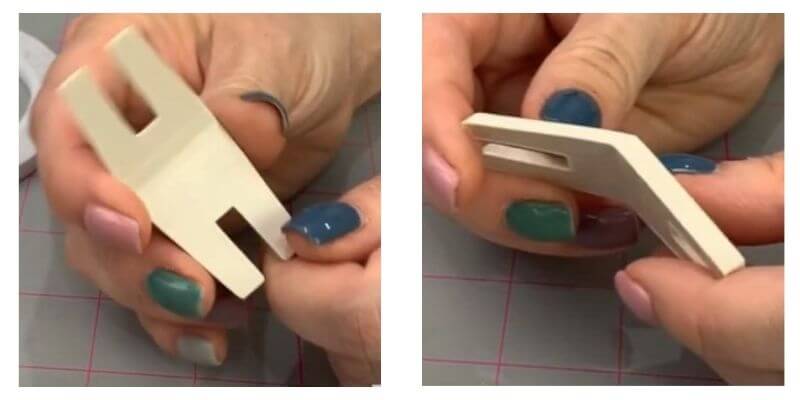
Hump jumpers are super helpful, particularly for bag making. This tool has two sides, one side is thicker and the other side is thinner. This hump jumper provides your needle with something to rest on when sewing on something bulky so that when it goes across to the lumpy part of your sewing, it doesn’t kind of freak out and skip stitches, which is never any fun. If you ever have this unfortunate incident head over to my Instagram @studio7t7 I pinned a little trick for fixing your skipped stitches.
Then on the other side, we have a thinner one which of course is just if you’ve got a thinner seam coming up so you can switch it over.
5. Teflon foot
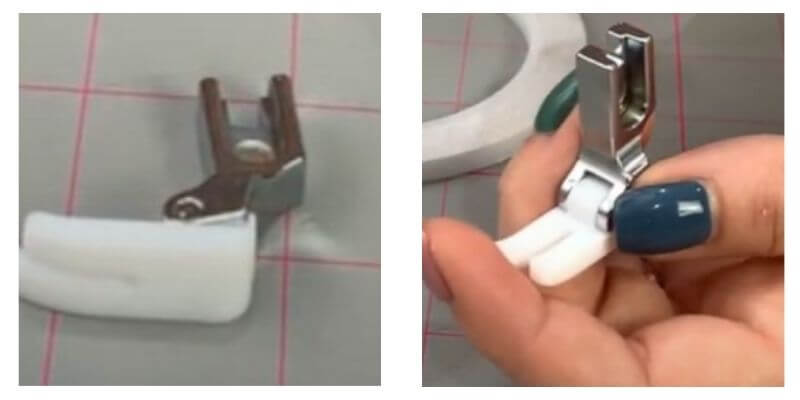
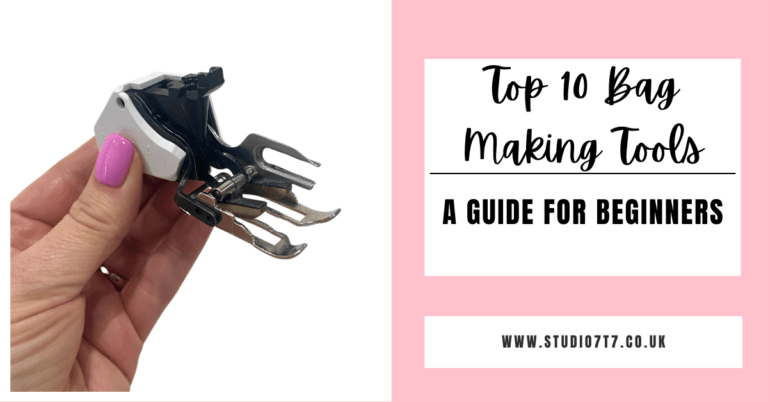
The Teflon surface allows for smooth and even fabric feed, preventing materials from sticking and ensuring seamless stitching on sewing machines surfaces. Ideally it’d be a working foot that would always be my number one go-to or if not a Teflon foot that’s going to help you go over cork, vinyl, Jelly TPU clear vinyl, all of those things. So you want to get yourself one of those for bag-making.
Advanced intermediate bag making tools
6. Pattern notcher
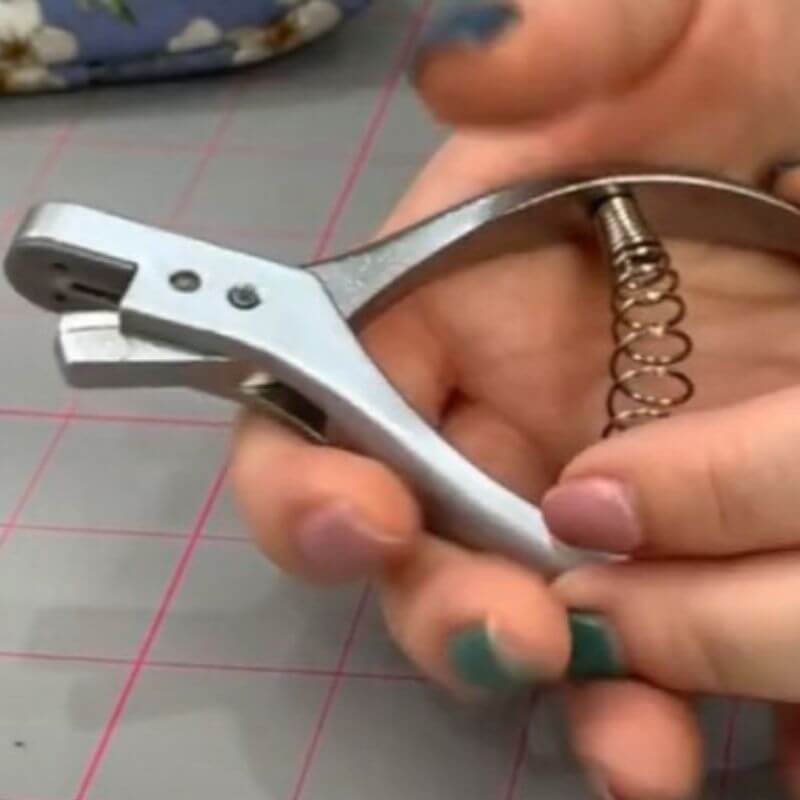
This is a generally brilliant tool for all sewing, but it still applies to bag making. So how to use this bag making tool? Let’s say you’ve got your pattern and on your pattern, there are some notch marks that you need to mark onto your fabric. You can use this pattern notcher to clip it and pull it out of the way leaving a hole, so then when you’re drawing around your pattern, you can mark the notch without sort of having to awkwardly pull up the pattern back. This will help all your notches to be accurate. Please check out my YouTube video HERE, where I make examples of how to use this sewing tool.
7. Fray Check
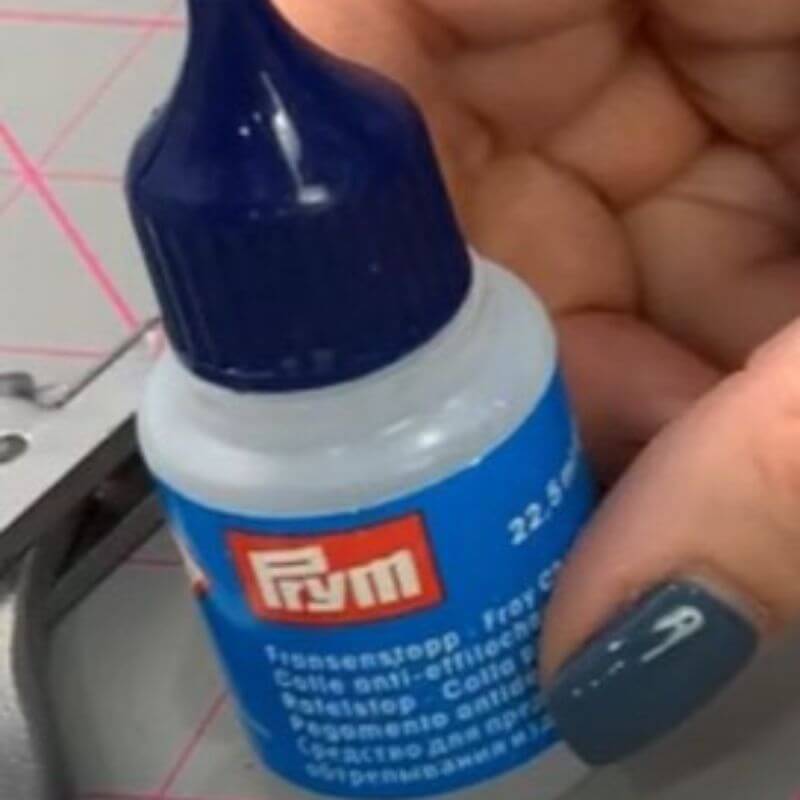
Honestly, you probably can get away without this for a while, but this is great if you’ve got cotton webbing and you want to seal the edges. I would still do a zigzag over the edge and probably fold it under because it doesn’t look great.
Please bear in mind that it can make the fabric darker although it doesn’t stain it, so keep that in mind that you don’t want to kind of go crazy on it because it will be visible more like a water stain.
If you’re putting in twist locks or turn locks into your fabric and you need to cut that hole, you can pop this on and keep that nice and secure and just help to keep it together and stop it from fraying, especially on cotton.
8. Point turner
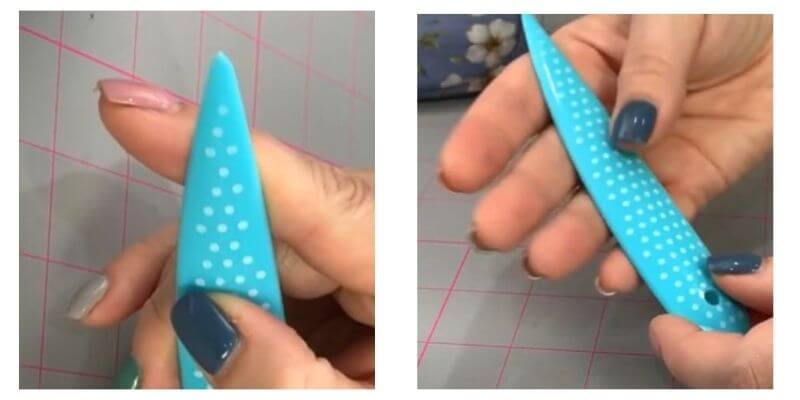
This bag-making tool is good for turning out your projects and getting into those corners. Before I was just using a pen or scissors. This stops you from pointing all the way through and breaking through the fabric. I went on for ages without it so it’s not a must-get tool but nice to have. I got this point-turner for Christmas about three years ago from Etsy I think but it is also available from Amazon ranging from 3 to 10 GBP.
9. Stiletto and quick unpick in one
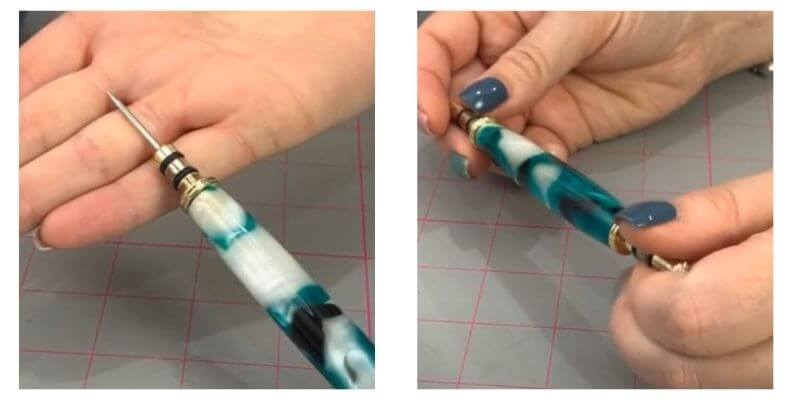
I love this tool because I now have two sewing tools in one and you don’t lose it as much as you do with the little tiny ones. When you unscrew the one end you get a stiletto and on the other side, you get a quick unpick.
A stiletto is a pointed tool used in bag making for precise fabric positioning and guiding during sewing, while a quick unpick (seam ripper) is employed to remove stitches efficiently without damaging the fabric.
10. Teflon sheet
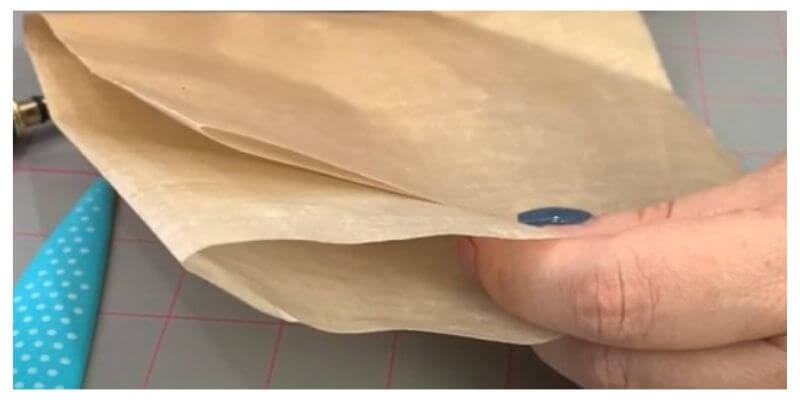
I use this as a non-stick protective barrier on material over heating elements. I like this because it’s not white it doesn’t look like interfacing or fusible webbing or anything like that… It’s quite different. You can see that colour sticking out amongst your tools which is quite good. If you want a Teflon sheet for yourself and you are in the UK, you can get it from Amazon.

